Showing posts with label recipe. Show all posts

Sunday, November 4, 2018

A pound of homemade potato salad? Yeah, that works!

Every so often I get a hankering for some good old fashioned potato salad. The problem was, I didn't particularly like the offerings at my local Deli. I also wasn't too fond of paying two to three bucks per pound! Thus it was that I came up with this simple old fashioned recipe which goes together fairly quickly, produces about one pound of salad and costs only about a dollar to make!


Ingredients:

2 medium Russet potatoes, boiled
¼ tbsp vinegar
3 tbsp mayonnaise
2 tsp mustard
2 tbsp onion, minced
3 tbsp celery, chopped
2 tbsp pickle relish
1 hard boiled egg, chopped
Dash of celery salt to taste
Salt and pepper to taste
Dash of smoked paprika

To make hard boiled eggs
  1. Place egg into a pot of cold water.
  2. Heat to boiling.
  3. Remove from heat and cover.
  4. Wait 12 minutes, drain, cool and peel.
Directions:

After boiling the potatoes for about 15-18 minutes, place them in the fridge until they cool off, then remove, peel and cut into pieces and place in a small bowl. Next, take the hard boiled egg and rough chop into pieces and add them to the bowl. Next, add the rest of the ingredients and mix everything together with a fork pretty well. Place into a covered container and refrigerate for at least one hour. Makes about four servings.

Notes: For a fast way to cook the potatoes, just nuke them for about four minutes instead of boiling.Much of the flavor is in the mustard, so adjust amounts accordingly.

Tuesday, October 10, 2017

My tacos grande!

It was only a rather blasé Monday and definitely NOT a Taco Tuesday, so... I decided to make up a batch of tacos! When a man gets a hankering, that's how it goes....

So, whenever I happen to make tacos, I insist on hard shells and lots of crap mixed in topped off with some Louisiana hot sauce! Yep! That be the ticket...

Ingredients:

Taco meat (HB and taco mix)
Hard corn taco shells
Taco mix shredded cheese
Shredded lettuce
Diced tomatoes
Green chilies, chopped
Salsa Ranchera
Hot sauce

Preparation:

If you don't know how to make taco meat, please stay out of the kitchen and away from sharp blades. I prefer 80/20 ground beef mixed with McCormick's Original Taco mix. Once this is ready, I mount the shells in my little taco holders and then throw on the rest of ingredients with wild abandon! Making tacos is about as easy as 'cooking' gets! Note that the taco, as pictured, contained about 180 calories!

Friday, July 14, 2017

BBQ Chicken via the Convection Oven route!


Initial Prep: Rinse, pat dry and throw the chicken onto an 'elevated' drip pan (so the grease can drain), and then 'roast' them in a preheated convection oven, set to 390 degrees for about twenty four minutes.

Da Sauce: Place about a cup of BBQ sauce into a small pan on the stove and bring to a boil, then reduce the heat to low and simmer while the chicken roasts. (It’ll get nice and bubbly and wonderful). When the chicken’s ready, turn off the heat and remove the pan from the burner.

Back to the Chicken: After the chicken has roasted 20 minutes, crank up the broiler to high and broil the chicken for 5 minutes turning once, just to give it a little color. Then, remove the chicken from the oven, and reduce the oven temperature to 350 degrees. (Even though the chicken was actually done at this point, I was going to return it with sauce added in just a second).

Setting the sauce: Use tongs to dunk each chicken legs into the sauce, submerging each piece completely. Place the coated chicken back onto the pan, then return the chicken to the oven for five minutes, just to anchor this base of sauce onto the chicken.

Finally, brush or dab plenty of extra sauce all over the legs. Re-anchor this sauce for a few minutes in the oven and then let it all sit for a spell....
--------------------------------
Notes: The concept of 'doneness' - Typically you should cook drums or thighs to 175 to 180°F to make very sure no pink meat remains. But, as long as the drumstick or thigh reaches 165°F, it is safe to eat!
--------------------------------
Nutrition: These drums contained the following calories....
Calories per gram = 1.4 (Each drum had about 75 grams of meat = 100 calories)

Cook's Notes: I used a Breville convection oven with the rack set in the roast or mid position. For broiling I raided the rack and set the heat to 500F. The legs were broiled for about 7 minutes and rotated once.

The legs were then immersed in KC Masterpiece sauce and returned to the oven with the rack set on the center position. The temperature was lowered to 350 degrees and the legs were cooked an additional 7 minutes. The internal temperature, done by probe, registered 168 degrees. The legs were then removed from the oven and placed into a refrigerator to cool..


Tuesday, June 13, 2017

Pasta, garlic toast and milk!


As I like to challenge myself to come up with meals that are at or below 500 calories, I really ratchet it up when I turn to any pasta style dish as the calories really come on fast!

This simple and easy to make meal really did hit the spot! I used the following:

56 grams of regular spaghetti
1/4 cup home made spaghetti sauce
1/2 a Bollilo roll, sliced in half
1 tsp garlic
Fake butter, 2 pats
1 tsp red wine
1/4 tsp Oregano, dried flakes
1/4 tsp basil, dried flakes

I made the spaghetti according to package instructions in a small pot of  boiling and salted water. That took about eleven minutes. Next I took a small can of tomato sauce, dumped it into s stainless steel frying pan to which was added the wine, Oregano and basil. This was lightly simmered for about five minutes or about the time it took to 'broil' the garlic bread in my convection oven. All told, this lunch time repast took about  15 minutes to prepare. It came in at just about 500 calories (note that milk was not pictured) and was delicious!

Saturday, May 27, 2017

Crock Pot Ham and Bean Soup!

Taking a cue from a package of Hurst's 15 bean soup package, I thought to try out an 'Owenized' version, using just the foodstuff I actually had on hand. 
 

Ingredients:

10 oz of Hurst's 15 bean soup package (1/2 a package)
2 ham hocks
½ packet of ham flavoring (included with Hurst package)
15 oz can of chicken broth
15 oz can of petite diced tomatoes
¼ onion, chopped
¼ tsp garlic
Dash of Cayenne pepper
¼ tsp of lemon juice

Directions:

For this meal I used a small 2 quart Crock Pot, that I had ordered from Amazon, as it does a great job when cooking up smaller amounts of food.

To start this recipe off, I rinsed the beans (about half the package) and added them, along with the onion, ham hocks, broth, garlic and Cayenne pepper into the Crock Pot which was set on high. The lid was put on and it was allowed to cook for 5 hours. (Note that if you boil the beans prior to adding them to the slow cooker, the time is reduced to about three hours). After that time had elapsed, I removed the ham hocks, cut off the meat and discarded the bones. I also checked the beans for tenderness. I then stirred in the can of diced tomatoes, lemon juice and ham flavoring.

I let this cook for an additional 30 minutes to allow the flavors a chance to meld. Serves about 4.

Notes: The Crock Pot I used, when set on high, reached a temperature of about 232 degrees Fahrenheit. This was hot enough to cause the contents to slightly boil or simmer.

Monday, September 26, 2016

Pot roast, potatoes, carrots and lots of horseradish!

One afternoon, while sitting at a local watering hole, I was talking with a friend named Nita about the popular condiment called horseradish and how we both liked this spicy white stuff served on a slab of pot roast. That conversation got my salivary glands working and I made it a note to myself to stop at a local meat counter the next day to pick up a 2 pound roast! Allez cuisine baby!

OK. So fast forward a number of hours and I found myself armed with the following ingredients:

2 1/2 lb roast tr-tipped roast
2 carrots, peeled and quartered
1 onion, quartered
4 Russet potatoes, peeled and quartered
1 pkg of McCormick pot roast seasoning with cooking bag

I prepped the veggies, seared the meat on each side for about four minutes, placed the bag into the cooker and threw everything on in. After sealing the bag with the supplied plastic tie, I elected to set the Rival cooker on a high setting (230ºF) for about two hours and then reduced it to low for another four.

'As an aside, another good friend of mine (named Brandy) gave me some cooking tips that I found interesting. Apparently her culinary philosophy is to do as little as possible when preparing this dish. For instance, she doesn't bother searing the meat prior to placing it into the cooker. She also avoids the peeling exercise by rough cutting up some potatoes (skin on) and by using baby carrots. (I had no idea if she bothered with peeling an onion). Everything is simply dumped in along with a little water and a tiny prayer book. The cooker is then cranked to the max early in that morning and everyone goes out to frolic. Later that day, I think she counts on someone taking notice of 'that smoking thing' in the kitchen and voila the meal is ready! Just kidding as Brandy is a very smart woman.'

As  the clock on the kitchen wall ticked the minutes away, I successfully resisted the temptation to open the cooker lid to take a peek. And, let me tell you. That's hard to do! At any rate, by the afternoon around 4PM, the deed was done. I removed the roast and veggies to a small platter and took the picture you see above.


Monday, July 11, 2016

A simple stuffed pepper!


Every so often, I get a hankering for a good old fashioned stuffed bell pepper. And, as it was the summertime, I had hoped that the peppers would be more affordable! That turned out not to be the case! No matter, here is my personal take on making a meal of one vis a vie the convection oven route!

I'll start with the following simple ingredients:

Ingredients                                                         Cost

¼ lb ground beef, browned                                 .68 (the cost of beef is headed down)
1 large bell pepper, cored                                    .89 (see inflated cost post)
¼ cup cooked rice                                               .35 (white instant)
2 tbsp of shredded cheddar cheese                     .10
1/4  8 oz can of tomato sauce                              .15
salt and pepper to taste ---
                                                              Total   $2.17        Calories 300 for 1/2 serving

Preparation: The peppers gets its top cut off and then is gutted of all seeds under cold running water. I then brown the hamburger in a small frying pan and then drain off the excess grease. Next, I will add in the cooked rice, one tbsp of shredded cheese and half the tomato sauce into a mixing bowl. Using a fork, I will then mix the ingredients up while also seasoning lightly with the a dash of salt and pepper. The bell pepper will then be placed in a small casserole dish where I will then add the mixture. Lastly, I will sprinkle on a bit more cheese after first pouring the rest of the can over the pepper. See? Easy greasy!

The casserole dish with the pepper then goes into a preheated convection oven set at 350ºF for about 25 minutes or until done! This is a very simple (and pretty cheap) meal to throw together, and is something I promise everyone will enjoy!

Note to self: Make sure to boil the pepper in a pot of boiling water for 5 minutes prior to stuffing. I also plan to do a Mexican version of this soon...

Sunday, February 22, 2015

The potato and cheese bomblette!

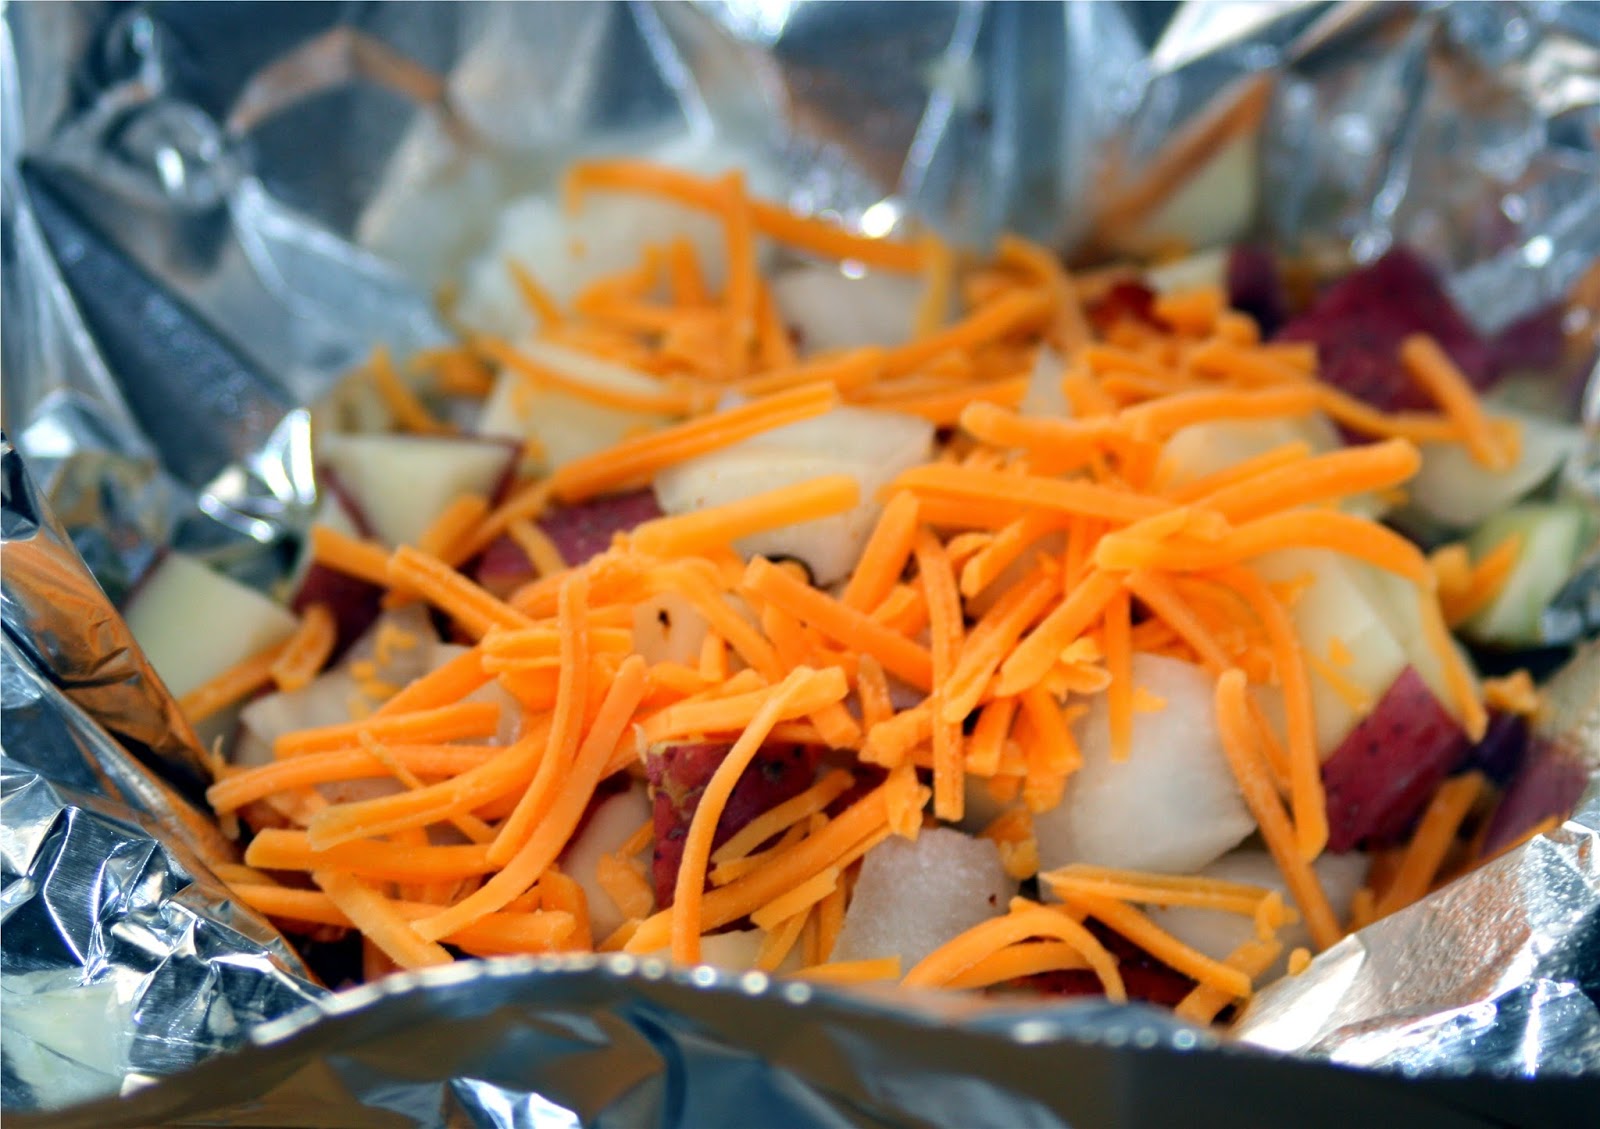
I decided on one cold and icky February day to make up a sample batch of slow cooker cheesy potatoes – a recipe I spied on Facebook a week or so back.

Rather than embark on the full blown recipe that would serve 6, I decided to throw together what I called a potato bomblette! A single serving amount that I could make ahead of time, keep in the fridge and then use when I was ready.

Ingredients:

220 grams red potatoes, cut into chunks
2 slices of bacon
¼ cup shredded cheddar cheese, divided
1 tsp Ranch seasoning and salad dressing mix
1 tbsp chopped chives
Salt and pepper to taste

Directions:

Place the bacon in a frying pan over med-high heat – cook until crispy. Break into small pieces. 
 
Make a pouch of aluminum foil as shown. I used a small glass bowl to aid me with this. Coat the inside of the foil lightly with nonstick spray. Place a layer of potatoes evenly into the pouch. Top with little of the cheese, onion, Ranch Seasoning and some bacon. Repeat until you used all the potatoes. Hold a little of the cheese back for use later on.

Seal up the little potato bomblette and either store in the fridge overnight or throw right away into a slow cooker set to low for 7-8 hours (or on high for 3-4 hours, if your in a hurry). Remove, then carefully open the foil and plate. Sprinkle on the remaining cheese and nuke in the microwave for one to two minutes to just melt the cheese. Finally,  sprinkle on the chives and serve at once!


I went with the low setting and made this up at 10 AM one morning, then sat down to a steak and potato bomblette meal! 

While the cheesy potatoes were good, I still prefer British fries - http://forsythkid.blogspot.com/2014/02/steak-and-eggs-at-home.html

Friday, May 9, 2014

Homemade potato salad!

I made this recipe after tiring of paying $2.59 for a one pound container of mediocre potato salad at the local deli! I thought the taste was absolutely great and look forward to making some variations on this theme in the future!

Ingredients:
2 medium Russet potatoes, 300 grams nuked for 4 min (.59¢)
¼ tbsp vinegar .02
3 tbsp (31 grams) mayonnaise (.05¢)
2 tsp mustard (.02¢)
3 tbsp onion (23 grams), minced (.04¢)
3 tbsp celery (23 grams), chopped (.10¢)
3 tbsp relish (30 grams) (.05¢)
1 hard boiled egg, chopped (.20¢)
salt and pepper to taste N/A

To make hard boiled eggs

1) Place egg(s) in cold water
2) Heat to just boiling
3) Remove from heat and cover
4) Wait 12 minutes, drain an cool then peel

I nuked the potatoes in the microwave for about 4 minutes and then refrigerated them. Once they had cooled off, I peeled them by hand and then cut them into chunks. I then added all the other ingredients mixed them together with a fork. Makes about one pound of potato salad. Note that all the amounts are estimates - you might need to experiment to find the best mix for your particular tastes. Total cost ~$1.07!

Friday, December 21, 2012

Hobo meals are worthwhile!

Whatever name you call this meal deal; be it Hobo or Campfire, this recipe has a lot going for it! It’s tasty, easy to prepare, nutritious and cost effective! As an added bonus, cleanup is a snap! Wow!

Ingredients (per packet):

1 hamburger patty
1 strip of bacon
1 med potato cut up
2 carrots cut up
1 onion, quartered
1 wedge of cabbage
Salt and pepper
Heavy aluminum foil

Directions:

Preheat the oven to 350 degrees. Using heavy foil, make a square about 12” by 16” in size (just eyeball this). Form a small patty out of the hamburger and wrap it with a strip of bacon. Cut up the veggies and arrange them along with the meat in the center of the foil. Use salt and pepper to taste. Carefully bring up the sides of the foil and make an airtight seal leaving some airspace on top. (Note: The steam generated during the cooking process helps to cook this meal). Place the meal into a shallow oven safe casserole dish (to help prevent leaks) on a center rack in the oven.

After about an hour and fifteen minutes, carefully remove the meal(s) and allow it or them to cool for at least ten minutes before opening. Open the top to vent and watch out for any steam! Place the packet on a plate and dig in!

Nutrition

Assuming that you take care to keep that ground beef patty down to a reasonable size and that you 86th the bacon, this meal turns out to be quite nutritious! (Hey! Throw out both meats entirely and I'm sure Mrs. Obama would embrace you in a fast and furious fashion….:)

A word about cost…

At the time of this post, our Nation is still basking in the warmth that was President Obama’s re-election! A man who was once is said to have said that ‘there’s no country I can’t bankrupt given enough terms in office.’ I have this to say about cost...

To wit, this meal contains only one truly ‘expensive’ item and that would be the ground beef. No problemo! You can save money by either cutting back on the size of the patty or by substituting whatever it is you can track, kill and grind up!

At right is a breakout of the per serving cost of this meal as of the end of 2012. So, for about two bucks per serving you can still enjoy a decent dinner at home!

Also, please note that all of the veggies can be grown right in your own backyard for very little cost and so can really help out the family budget for those of us living in a post financial cliff world!